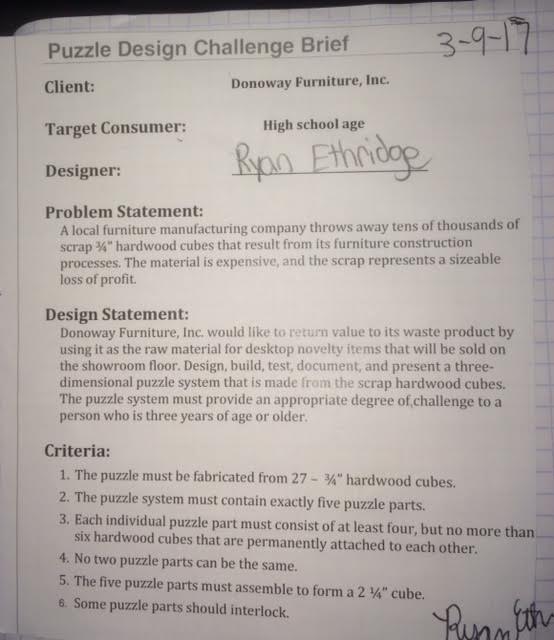
Define the Problem
|
|
Generate Concepts
|
|
To measure all of my puzzle cubes, I used a dial caliper and measured from rough side to rough side. I rounded my measurements to the nearest ten thousandths. Most of my cubed ended up around 0.7400 in. I did all of the measurements to find out if there were any cubes that were too big or too small, and if there were, I threw them out.
Acceptable range is two standard deviations. If any cubes were outside of two standard deviations, I threw them out. To calculate the range, I took the mean of the puzzle cube lengths and subtracted two SDs, and added two SDs. This told me that my acceptable range was from .7333 in. to .7573 in. I had two cubes that were outliers, so I threw them out and got new puzzle cubes. The acceptable range is how close a set of data is to the mean. |
|
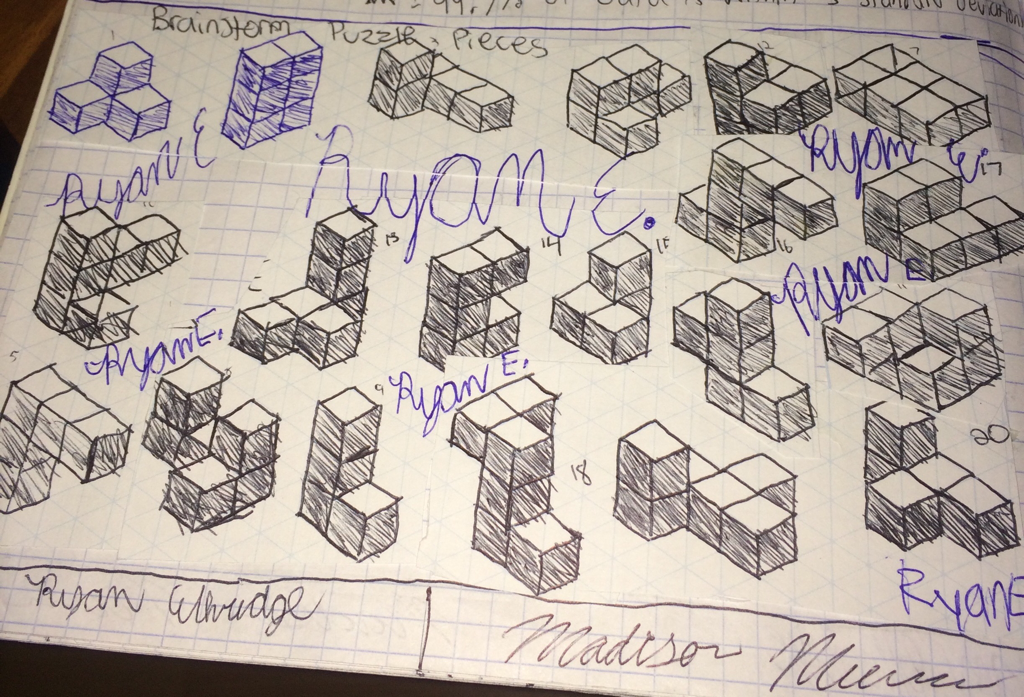
I created these 20 sketches during brainstorming. They are isometric sketches because they are drawn from an angle. I needed to create a 3x3 cube with 5 pieces using 27 cubes. The sketches helped me think of many different possible cube designs.
|
Develop the Solution
Construct and Test the Prototype

|
|
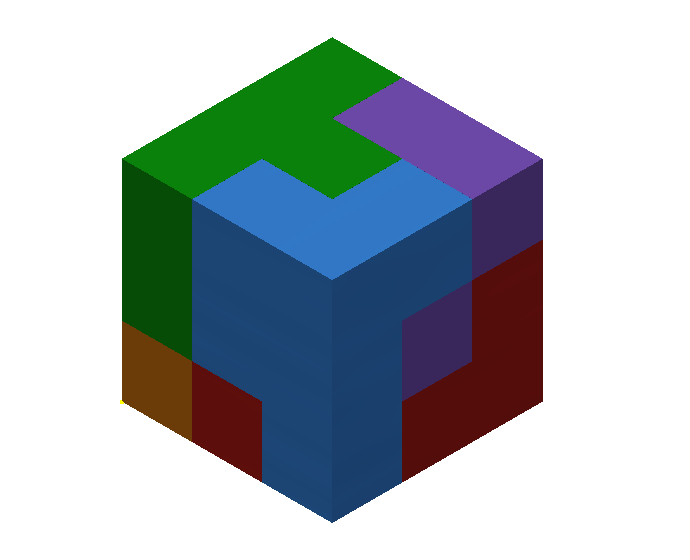
I used to flush and mate assembly constraints to keep the puzzle cube together. Mating brings two surfaces together so that they are stuck together. Flushing brings two cubes to the same level. Degrees of freedom are the ways that an object can move on all 3 of its axis. Mating and flushing take away degrees of freedom. Mating takes away the first 3 degrees of freedom, while flushing takes away the rest.
Evaluate the Solution

|
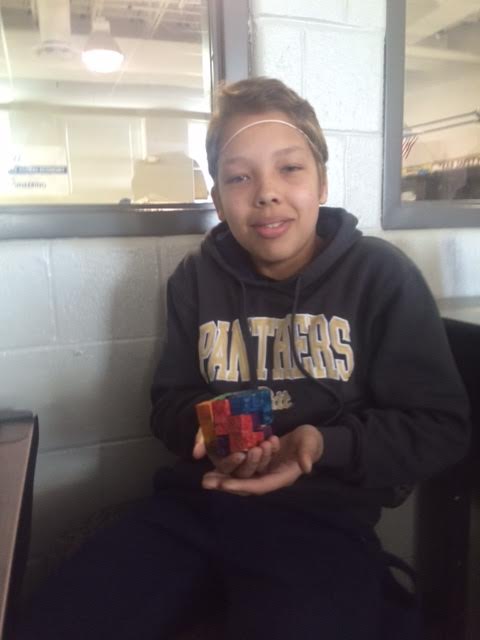
When I timed the different people trying to solve my puzzle cube and recorded the results, I saw a relation between the age of the person and their solve time. The younger people generally solved the cube the fastest. The only exception was that Maya solved it 12 seconds slower than Mom. Otherwise, as age increased, solve time also increased. Also, the girls had a faster solve time than the boys. If I were to test the results of more people, I might have had a different outcome, but for the people I tested, younger people solved the cube faster.
|
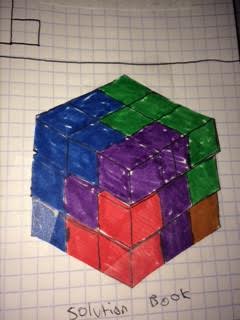
If I were to make another cube, I would've made my parts a little bit more complex. This is because it was very obvious where parts like the orange and blue ones would go. More complex parts would make a more challenging cube. In order for a puzzle cube like this to be entertaining, it would need to take a while to solve, not just a few minutes.
Present the Solution
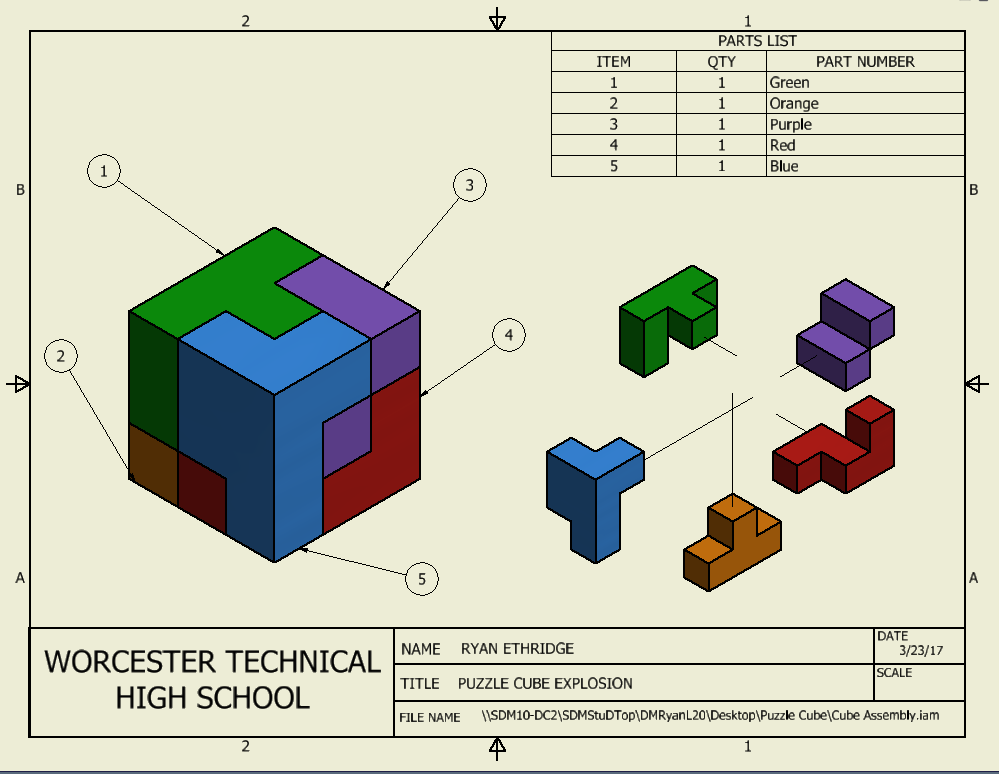
Overall, I had a good experience during the puzzle cube project. I liked things like modeling the parts on Inventor, and I disliked things like gluing the cubes together. But during the whole project, I used the design process. In the Define the Problem phase of the design process, I received the design brief and constraints. During Generate Concepts, I made my 20 brainstorming sketches. Also, I measured my 27 puzzle cubes, created an Excel document, made my 5 parts, and modeled them on Inventor. The next part of the design process is Develop the Solution. In this, I created my solution book and multi-view drawings, and put them in my engineering notebook. I also completed the dimensions of my parts on Inventor. After Developing the Solution is Building and Testing the Prototype. This is where I assembled my cube on Inventor, made my "Bubbled" drawing, and created my explosion animation which I uploaded to YouTube. Finally, I Evaluated the Solution. I timed 5 different people trying to solve my puzzle cube and recorded the results. When somebody says they used the design process to solve a problem, it means that they used all of the steps that I used during the puzzle cube project. They go through all 6 steps, from Defining the Problem to Presenting the Solution. The design process is a great approach to solving a problem because it helps you think outside the box and plan your ideas efficiently. Also, when you use the design process, you don't have to go through the steps in order. You can jump back and forth between steps, but in the end, you will still have a solid solution.
